

Hi everyone!
I want to post a small guide to how I made this gif. The purpose of this is to outline parts of my process and provide some advice to anyone interested in making something animated.
I stick to a rather traditional way of animating, i.e. manually working frame by frame, and I use mostly accessible mediums such as drawing, collage and Photoshop (PS).
I will try not to go into the aesthetic nature of my work, but rather provide a process based template that you’re able to apply various visual styles to. As such, I will be mostly working in pencil to show my process.
- Note: Before I start, I want to mention I use a Mac, as such my shortcuts might be a little different to a PC.
1. Making a Plan
I start by making pencil sketches and layer potential frames over each other using tracing paper. I use these hand drawn frames as a template which I then scan into PS and work over.
It’s normal to work with a bit of trial and error with hand drawn frames, it is also normal for animation to take time.
To help, a great way to understand movement is to observe it in real life. I often take a video or something I’m interesting in and bring it back to my desk to study it.
Another handing tip when it comes to understanding movement is to drag your video into PS and examine is frame by frame (go to ‘Window’ ︎︎︎ ‘Timeline’ and horizontal bar will pop up. It will show a sequence of frames that make up the video which you can use a guide for your work).
In the image above, you can see the character’s movement is composed of 8 frames.
- Note: If you’re interested in making things glow, you can find a guide here: Making a Glow. The Moon and Flowers in this gif follow the same process.
2. Organising your Layers
Before we start animating, we need to organise our frames in chronological order and align them over the other.
I manually do this in PS by placing all my frames in a new file. I place them in order in my ‘Layers’ (go to ‘Window’ ︎︎︎ ‘Layers’ if your Layers column isn’t showing up).
To place frames into a new file, open the images in PS and place/drag/ etc into your main file for animating.
One way is to ‘Select All’ (Command + A) then copy (Command + C) and paste (Command + V) in file (see gif below).
In the gif below you can see the way I had organised, aligned and named my 8 frames (Frame 1 - 8).
At this point, I have hidden all the frames except Frame 1 by clicking on the ‘Eye’ icon. It can be confusing when all frames are showing on at the same time.
If you’re having trouble aligning your frames, you can create Guides (‘View’︎︎︎ ‘New Guide’ and insert dimensions) or drag Guides from your Rulers (Command + R to make sure rulers appear, right click on Ruler to edit preferred units of measurement if applicable). Hover mouse above a Ruler and click + drag your guide.
You can see/feel Guides automatically ‘lock in’ at the centre if you’ve set ‘Snap’ : ‘View’ ︎︎︎’Snap’. To switch guides on and off use ‘Command' + ‘:’.
See gifs below! :)

Making a Guide
Dragging your Guide from Rulers
You can also try ‘Multiplying’ your layers to make everything see through just like tracing paper!
To ‘Multiply’, go to your Layers column while selecting your frames. Click the ‘Normal’ bar next to ‘Opacity’ and it will open up a column where you can select various layer effects. Select ‘Multiply’ and make sure to switch everything back to ‘Normal’ once you’re done!
Multiplying your layers
3. Adding additional elements
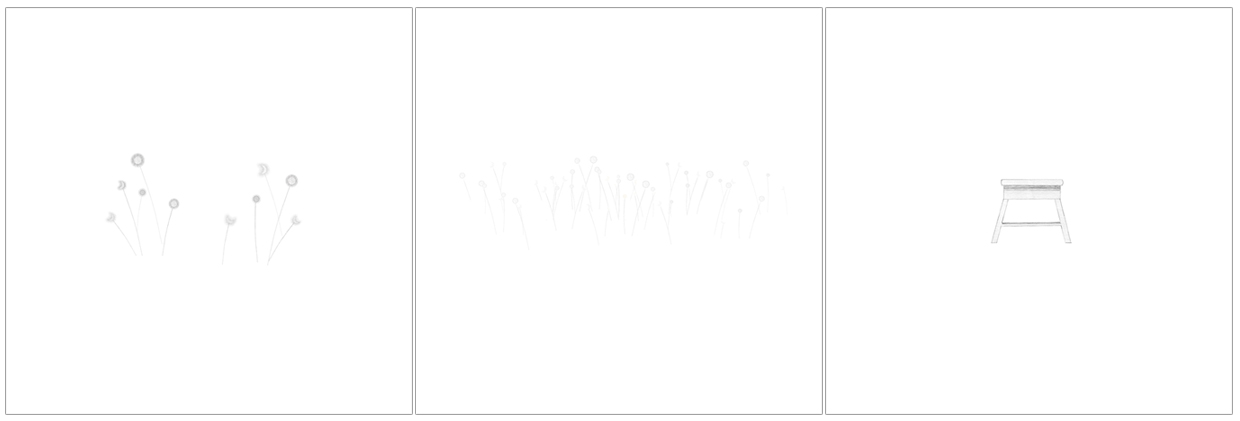
Before I start animating, I place the flowers and stool into my file. These are non-moving assets in my gif.
The way you arrange your layers in PS are important.
Layers at the top are at the front of the artwork, and the ones that follow under it are behind.
I have two sets of flowers in my gif: one in front of the character and stool, and the other behind. This helps create dimension in the artwork. Below you can see a gif where I switch the flowers and stool on and off to show you their layer placement.
As we start to accumulate more layers, things can become particularly confusing especially if you have both animated and static elements. It helps when we start organising layers into ‘Groups’ and naming things.
To create a new ‘Group’, click on the ‘Folder’ icon at the bottom of your Layers column. Then drag selected layers into the group.
(See gif below)
4. Let’s Animate
Finally!
To animate basic looping gifs I use the ‘Timeline’ tool in PS (‘Window’ ︎︎︎ ’Timeline’ and a horizontal bar will pop up. Click on ‘Create Frame Animation’). See gif below!
The Timeline tool allow us to make an animation using our Layers. Think of it like a slideshow where you put images on slides that play automatically through a presentation.
By default your ‘sec’ or Frame Rate will be set to ‘No delay’, but you can toggle with the seconds and play with the smoothness of the gif.
I often use 0.1 and 0.2, i.e. 10 frames per second (fps) and 5 fps.
Movement for 0.2 starts to get choppy, and I tend to avoid this unless I want a certain affect. For this gif I used 0.2.
To make sure your gif will loop, keep it on ‘Forever’. (See gif below).
To animate our gif, we make an Image Sequence in our ‘Timeline’.
We need to create 8 Frames in our Timeline to match up 8 frames of our character in our Layers. Frame 1 in our Timeline will align with Frame 1 in our Layers, Frame 2 in Timeline with Frame 2 in Layers, and so on.
Our Timeline by default has one frame to behind with and this will match up with Frame 1 in our Layers.
To create a second frame in Timeline, go to the bottom of the Timeline box and click the icon that looks like a page with a corner folded over. We need to match up Frame 2 in our Layers to Frame 2 in our Timeline. In our Layers, click on the ‘Eye’ to make Frame 2 visible then switch off Frame 1 to hide it.
Continue this with the rest of the frames until you reach Frame 8 in both Timeline and Layers.

Then click the ‘Play’ icon and… ta da!
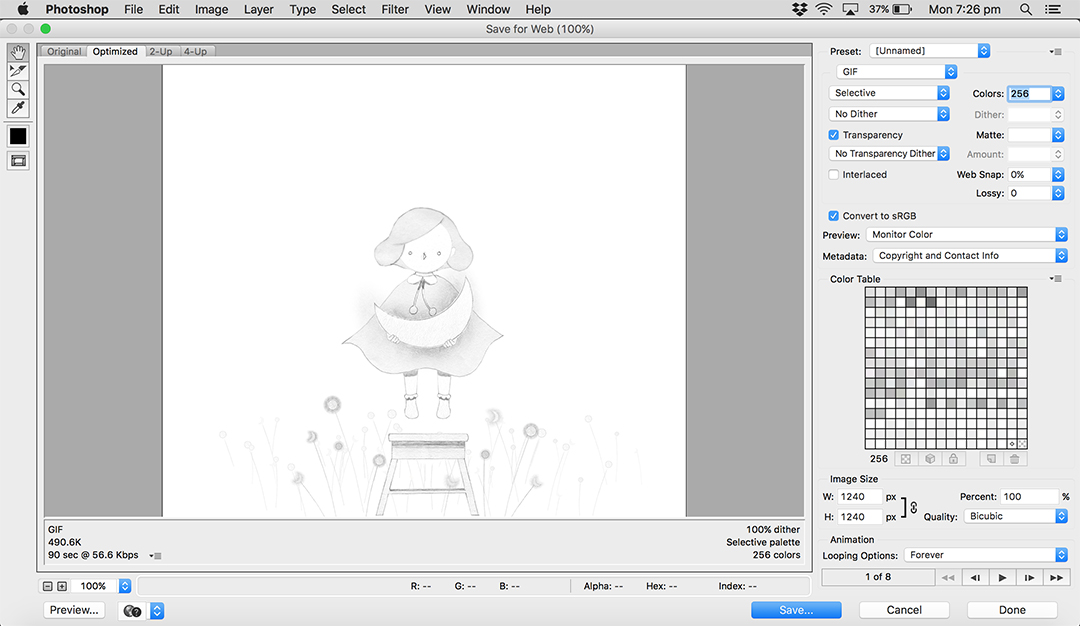
5. Exporting your work into a Gif
To save your work into a gif, simply go to ‘File’ ︎︎︎ ‘Save for Web’ , and a new window will pop up allowing you to go over the specs. Once happy with the setup, click ‘Save’ near the bottom right corner.
Thank you so much for taking your time to read this!
I really do hope it had helped you in some way on your creative journey ︎